This video will show you step by step on how to create multiple layers multiple colors in Cricut Design Space. Duplicate Copy and paste an object in one step to create multiples of the same object.

Pin On All About The Cricut Explore Air 2 Family
Weld - Join multiple layers together to create one object removing any overlapping cut lines.

How to create multiple layers in cricut design space. Click browse to select your image click open and then continue. Choose the appropriate file and upload from your computer. This tutorial uses the desktop computer version of design space.
Start by opening a new project in Cricut Design Space and click upload. You can choose to change the Image name as well as to create Tags to help you locate later. This will open up a new window that looks like the image below.
Turn on the blue shark layer by clicking the eye next to it in the layers panel. In this video Im showing how to create multiple layers in Cricut Design Space. Select the image type.
Cricut Design Space Multiple Layers. Click on complex then continue. I show how I found this image on the internet and how to clean up the image.
You can upload this Free Sunflower SVG from Design Bundles if youd like to follow along with the tutorial. This will cut the two layers out of each other leaving you with four slice results in the layers panel. Once you are done click.
Have an upload or an image in Cricut Design Space. Heres how you can easily split an image using the slice tool in cricut design space. Read the descriptions of each image type and decide which category your image falls into.
Apr 29 2018 - This video will show you step by step on how to create multiple layers multiple colors in Cricut Design Space. 4- We have uploaded our single layered image. 3- Select the layers icon.
How To Separate An Image Into Layers In Cricut 1. Turn OFF the black outline layer. Log into your cricut design space account and select new project.
After you have clicked New Project you will be taken to a blank canvas where you can choose to upload an already made PNG file or to start your own cut file creation. Click the eye next to the dark pink and light pink layers to hide them while you cut the red layer. Place it wherever you feel it would be easiest to line up.
This will attach the two layers together as one. 3- Click on browse. Log into your Cricut Design Space account and select New Project.
Now select both the heart shape and the first layer red and then click attach. This will open a blank Canvas. I could probably get away with simple or moderately.
This is a png file I am using Plea. In this video I show how you can take any image you find and create layers in Design Space with your Cricut Explore. Select the blue flag layer and the blue shark layer and click Slice.
Simply click the Upload button on the bottom left of the screen. Delete Remove selected object from the Canvas. Using Contour to create Layers With the brown house selected click on the Contour button in the lower right corner of your Cricut Design Space canvas.
It is so easy by just using the basic up. Open Cricut Design Space. How to create Multiple Layers Multiple Colors Cricut Contour.
This video will show you step by step on how to create multiple layers multiple colors in Cricut Design Space. Use this video to divide it up into layers so you can cut it from different colors of paper vinyl iron-o. Slice - Split two overlapping layers into separate parts.
Learn to cut multiple layered. This will bring up the screen from the image below. 1- Open Cricut Design Space.
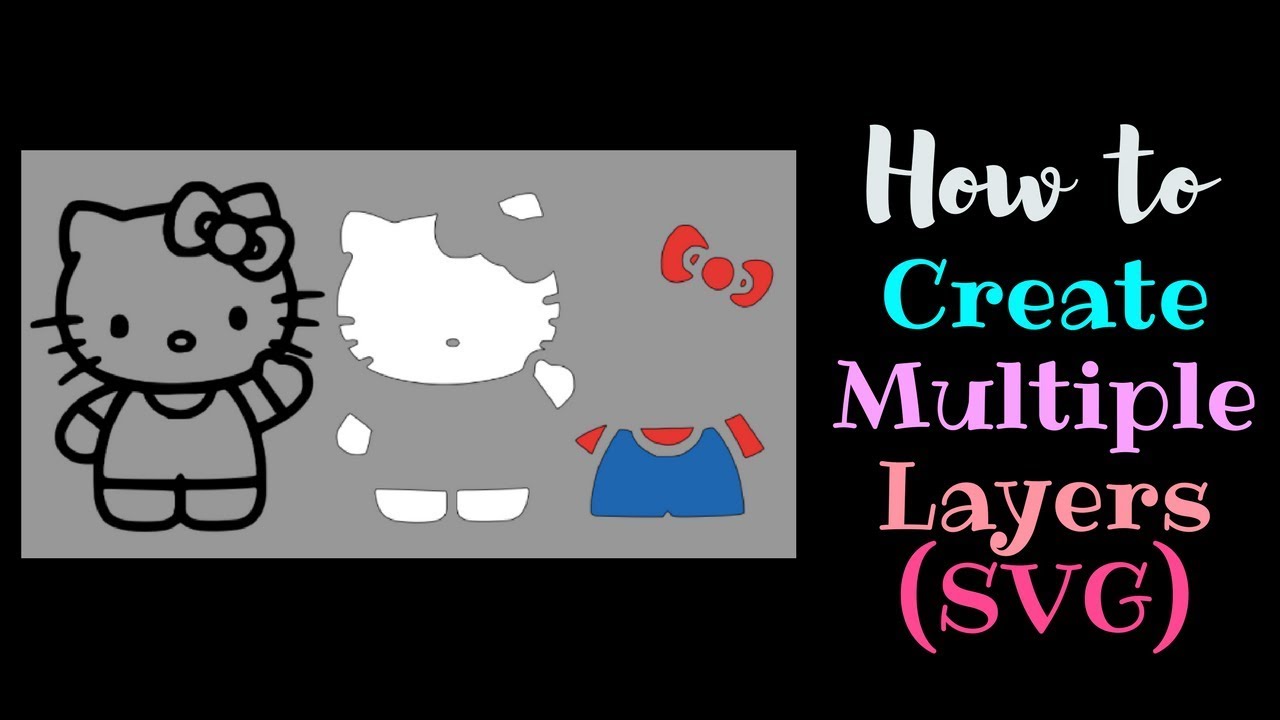
2- Tap on a new project. To make it multi layered for paper piecing etc we need to create a background base then separate each colour for cutting. You can see all of the different areas or sections of the image you have selected.
The first video found by clicking here showed you how to actually cut the image and its multiple layers in half. 2- Select upload image. 4- The layers tab will appear on the right of your design space.
How to Create Multi Layered Image in Design Space 1. This is a png file I am using Plea. 1-Open the Cricut Design Space App.

27 Layering Multicolored Vinyl Decals With Cricut Explore Registration Marks Youtube Vinyl Decals Layered Vinyl Cricut Crafts

Putting A Solid Background Around Text And Images In Inkscape Cricut Design Studio Cricut Explore Tutorials Scrapbook Background

How To Create Multiple Layers Multiple Colors Cricut Design Space Beginner Contour Youtube Cricut Expressions Vinyl Multiple Colors

Use The Slice Function In Cricut Design Space Cricut Design Cricut Cricut Tutorials
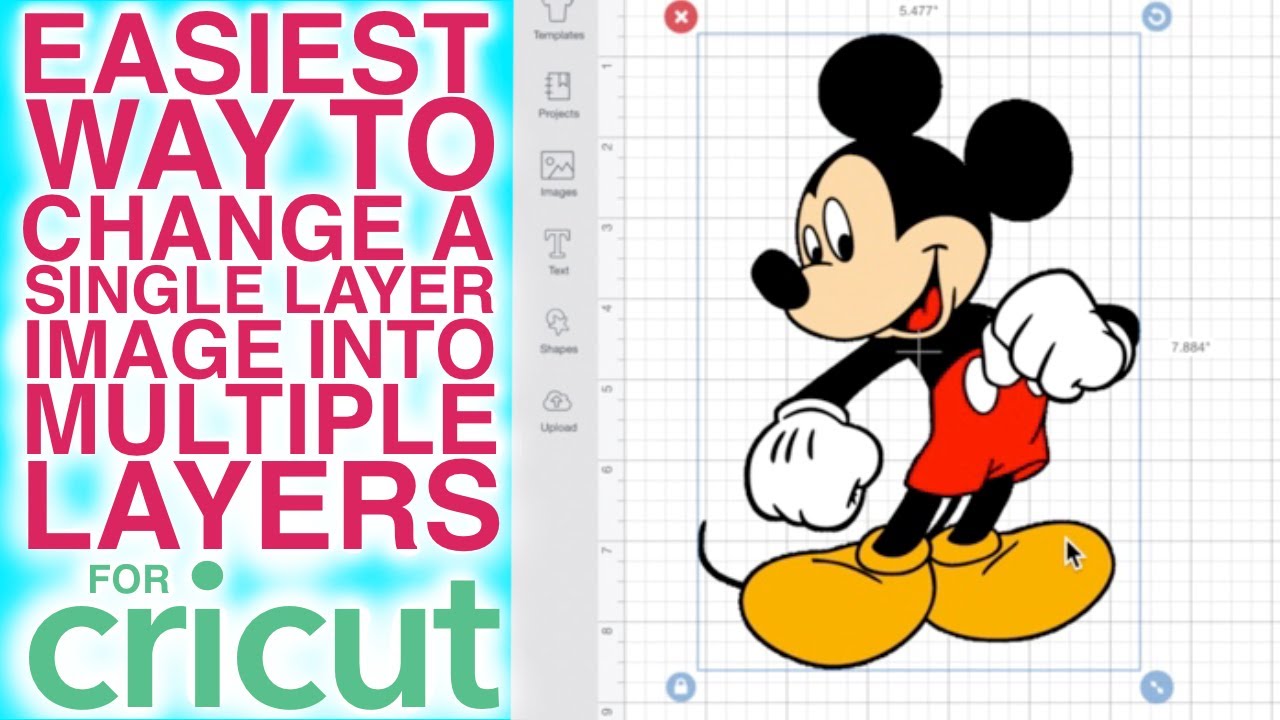
Changing A Single Layer Image To Multiple Layers In Cricut Design Space Youtube Cricut Cricut Tutorials Cricut Cuttlebug

Layer Multiple Vinyl Cricut Design Space Youtube Layered Vinyl Cricut Crafts Htv Projects

How To Layer Vinyl Decals Perfectly And Add Registration Marks In Cricut Design Space Easy Youtube In 2021 Layered Vinyl Vinyl Decals Vinyl

1269 Changing A Single Layer Image To Multiple Layers In Cricut Design Space Youtube Cricut Design Cricut Cricut Tutorials

How To Turn A One Layer Image Into Multiple Layers In Cricut Design Space To Get Different Colors Youtube Cricut Design Cricut Projects Vinyl Cricut

Pin On Cricut Design Space

Cricut Design Space Commands Cricut Design Design Cricut

How To Draw Layered Designs With Cricut Layers Design Art Projects Cricut Crafts
How To Create Multiple Layers Multiple Colors Cricut Design Space Youtube Cricut Design Cricut Cricut Tutorials

Create Shadow Layer For Any Font In Cricut Design Space Cricut Explore Tutorials Shadow Fonts Cricut Tutorials

Pin On Cricut Time All The Time Group Board
39 How To Create An Svg How To Change A Single Layer Image To Multiple Layers In Cricut Design Space Youtub Cricut Design Cricut Projects Beginner Cricut

Pin On All About The Cricut Explore Air 2 Family

Edit Shapes In Cricut Design Space Cut Out Text
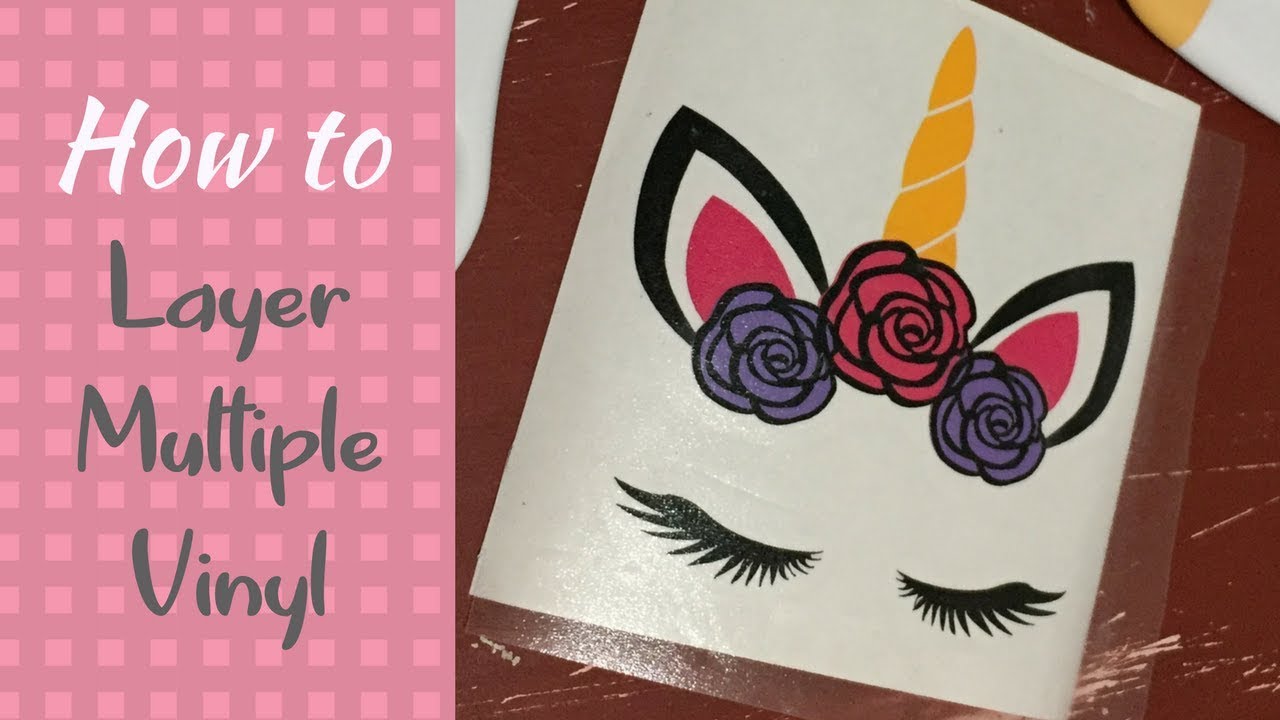
Layer Multiple Vinyl Cricut Design Space Cricut Projects Vinyl Cricut Projects Beginner Cricut Vinyl

